Git and GitHub are beastly applications to learn. They’re deep and powerful but can be daunting to begin using for the unexperienced. GitHub publishes documentation to help with this, but I have often found it to be less than helpful.
A perfect example in my opinion is this set of basic instructions for adding a project to GitHub using the command line. These instructions are nominally complete, but they make some kinda big assumptions about the users who are reading it. Also, the article fails to adequately illustrate its very first step. This has always bugged me when I refer to it.
So in the spirit of writing the reference tutorials that I wish I could find without going on YouTube, here is a short article on how to add a new Git project as a repository on GitHub.
This article will cover the initial workflow in detail, on a Mac in the built-in Terminal application. It’s intended for the most basic Git users, and those new to the Terminal app as well. It does assume that you have installed Git on your machine, and that you have a GitHub account.
1. First Things First: Open Terminal, Get To Your Project’s Directory
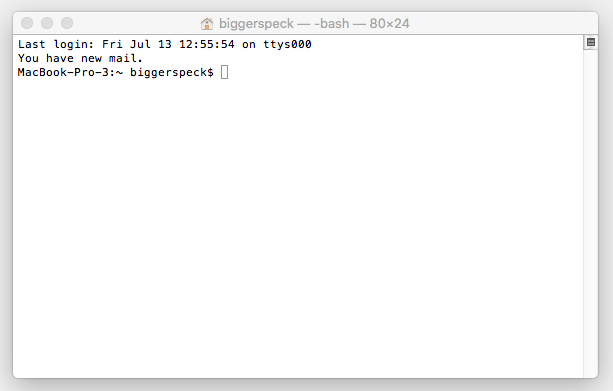
Open your Terminal app. You’ll see something like this:
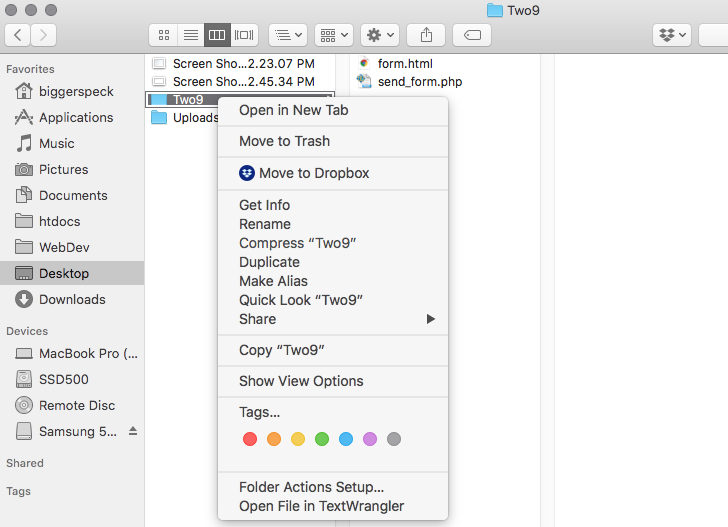
You’ll need to navigate to the directory/folder where your intended project is located, and you’ll need the address on your machine of that directory. An easy way to do this is to go to the directory in the Finder, right-click (i.e. hold down the alt/option key and click) on it, and select Copy “[directory name]” which in the case of this example is called Two9:
You now have the address of the directory copied to your clipboard. Go back to Terminal and use the Change Directory command. Enter cd, hit spacebar, paste in the copied directory address, and hit return to execute:
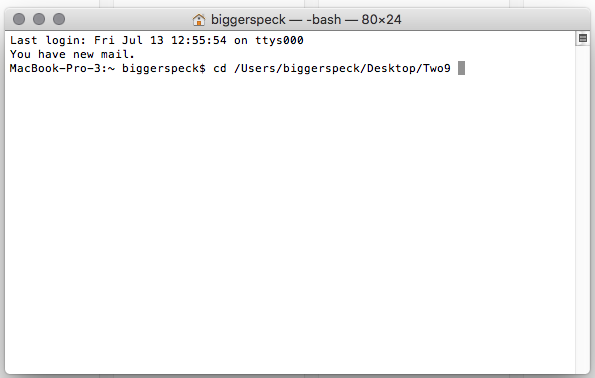
cd /the/copied/directory/address/
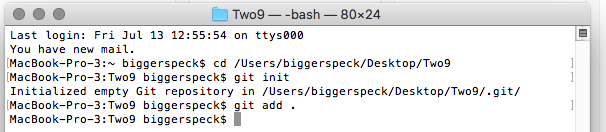
Voila, you are now inside your project directory with the Terminal app:

2. Set Up the Repo Locally
Use the git init command to initialize a Git repository in your project directory:

git init
Upon hitting return, a folder called .git will be added to your project directory. You probably won’t see this folder! It’s visible in the screenshot below only because I choose to show my hidden files. Notice that it’s greyed out:
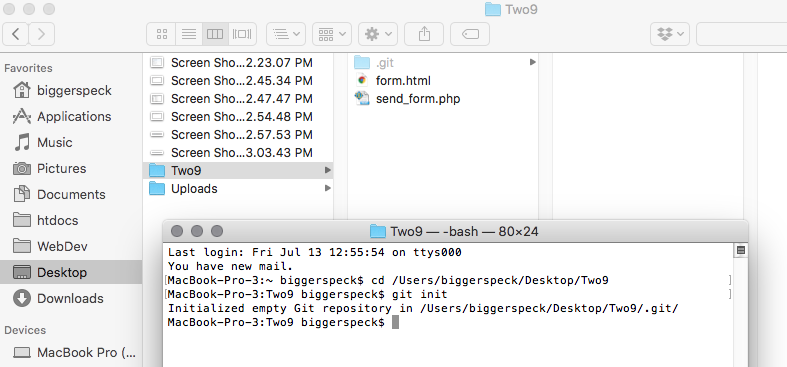
Though you may not see anything happen in the directory, you can verify that the change happened if you see the above confirmation in the Terminal.
3. Add Files and Commit Them To the Local Repository
You need to tell Git to add any files that you want in the repo. You can do this with the git add command, followed by a period (the period denotes all files in the directory. You can add files individually with the git add command as well, but for our purposes here we want everything):
git add .
The files are now ‘staged’ in preparation, but they further need to be committed into the repo, with the git commit command. This command takes some additional arguments. The -m is needed to denote that we’re committing to the master branch (branching is a conversation for another day), and inside the quotes you need to name this commit, however you find useful. So, try something like this:
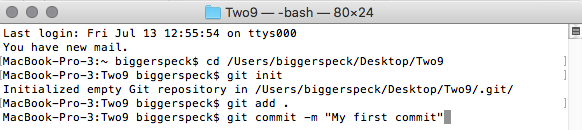
git commit -m "Commit message goes here"
Execute, and you’ll get some feedback from Terminal about what was completed:
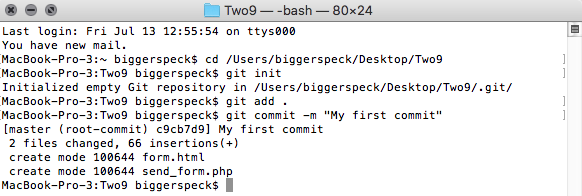
4. Go Make a Repo on the Remote, i.e. on GitHub
Git and GitHub are separate entities that interact, and everything you’ve done so far has been performed only on your local machine. Now it’s time to go online and make a remote repository. Sign into your GitHub account, and click the big green “New” button over on the right to start a new repo on GitHub.

Give the new repo a name, and type a short description. Leave everything else alone for now. Click the green button again to finish creating the repo.
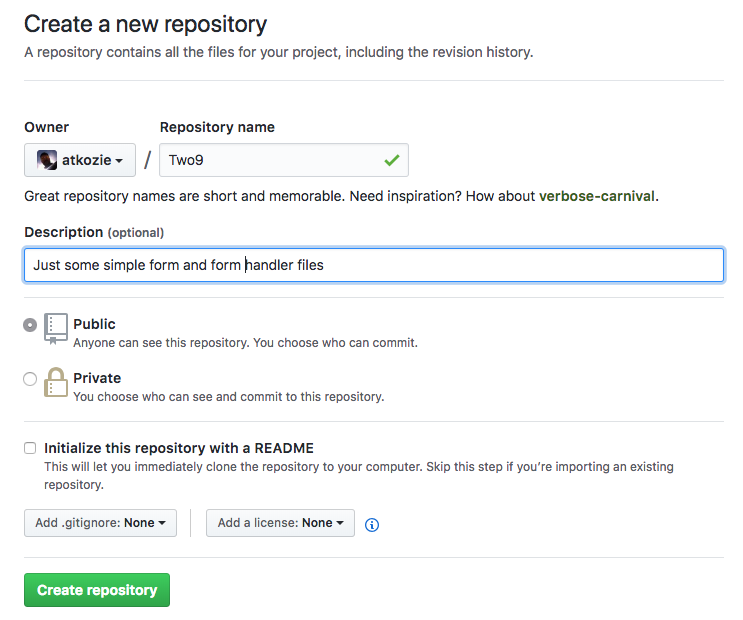
GitHub will take you to a screen with the repo URL, which you’ll need shortly in Terminal. Copy this URL.

5. Hook Your Local Repo Up To the Remote One
Back to Terminal now. Use the git remote add origin command, followed by the URL you just copied, and execute. This will tell Git to add your GitHub repo as the remote repo for this project. It will look like this:

git remote add origin https://github.com/YourAcct/RepoName.git
Use the git remote -v command to verify that this is working correctly. Again you should get some feedback from Terminal that looks like this:
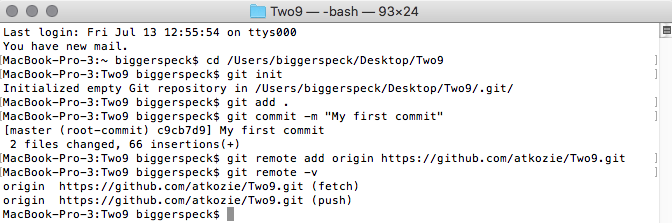
git remote -v
6. Push Your Local Repo Up To the Remote
The final step is to use the git push -u origin master command to push everything committed in your local repo up to the remote GitHub repo:
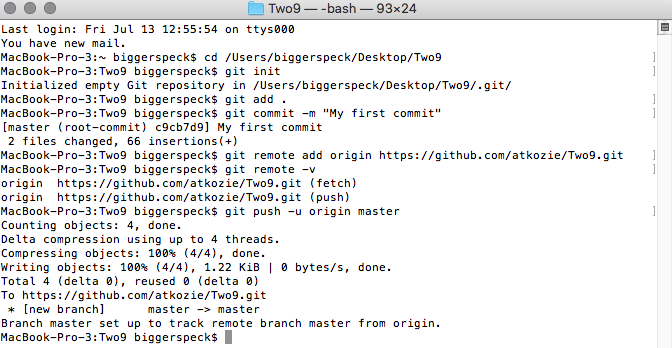
git push -u origin master
You’ll see that Git automatically produced a branch called “master.” When we go back to GitHub and refresh the page to look at our remote repo, you’ll find all the files that you added, committed and pushed up:
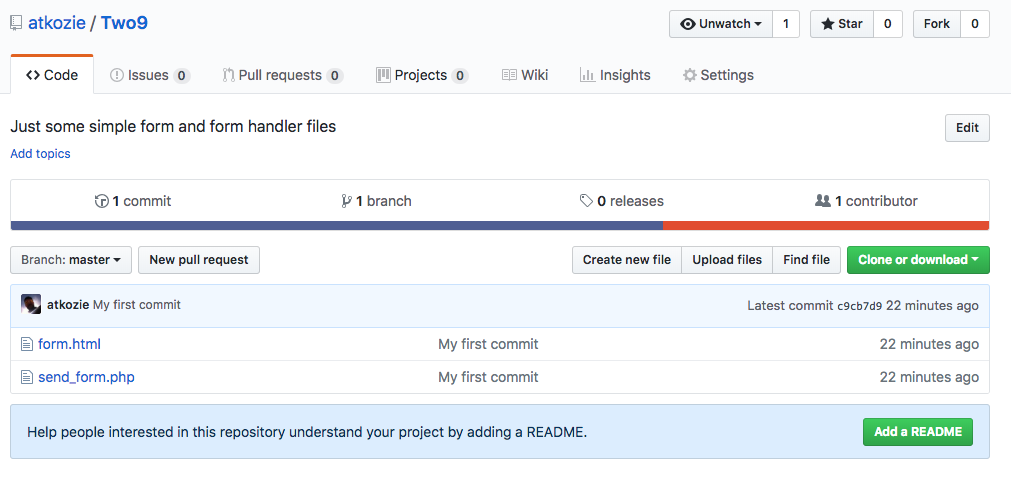
And that’s it! You have successfully made a local and remote repo, and pushed file changes between them.
Shout out to Salcoder, who has an excellent (if a bit fast-paced) video of this process on YouTube: